Continuous Integration and Continuous Deployment
Now that you understand the basics of containers and orchestration, let's look at how modern teams actually get their code to production. Getting your Spring Boot application running reliably for your users is the final step. Deployment strategies vary significantly depending on the team, the company's maturity, and the project's scale.
The "Old School" Manual Way
On my first job, deploying our Spring Boot application (packaged as a WAR file) was a tense, manual ritual:
- Remote desktop: Connect to the production Virtual Machine using a Remote Desktop client.
- Stop the server: Manually stop the Apache Tomcat instance running the current application version. This meant downtime for users.
- Replace the file: Navigate the server's file system, delete the old
app.warfile, and copy the newapp.warfile (uploaded manually). - Start the server: Manually start the Tomcat instance again.
- Count your blessings: Hope everything worked, check logs frantically, and manually test critical features.
This approach has serious problems:
- High risk of human error: Copying the wrong file, deleting something important, misconfiguring Tomcat. Manual steps are prone to mistakes.
- Downtime: Stopping the server means the application is unavailable to users during deployment.
- No easy rollback: If the new version fails, rolling back involves repeating the manual process in reverse, often under pressure.
- Lack of auditability: Who deployed what, when, and how? Manual processes leave poor trails.
- Not scalable: Imagine doing this for tens or hundreds of microservices. It is unsustainable.
- Stressful: Manual deployments are often high-pressure events, leading to burnout and mistakes.
While this might work for a tiny internal tool, it is completely inadequate for serious applications.
The CI/CD Pipeline
The modern way to deploy Spring Boot applications involves automation through a Continuous Integration/Continuous Deployment (CI/CD) pipeline, often leveraging containerization. The pipeline follows a continuous loop with eight stages:
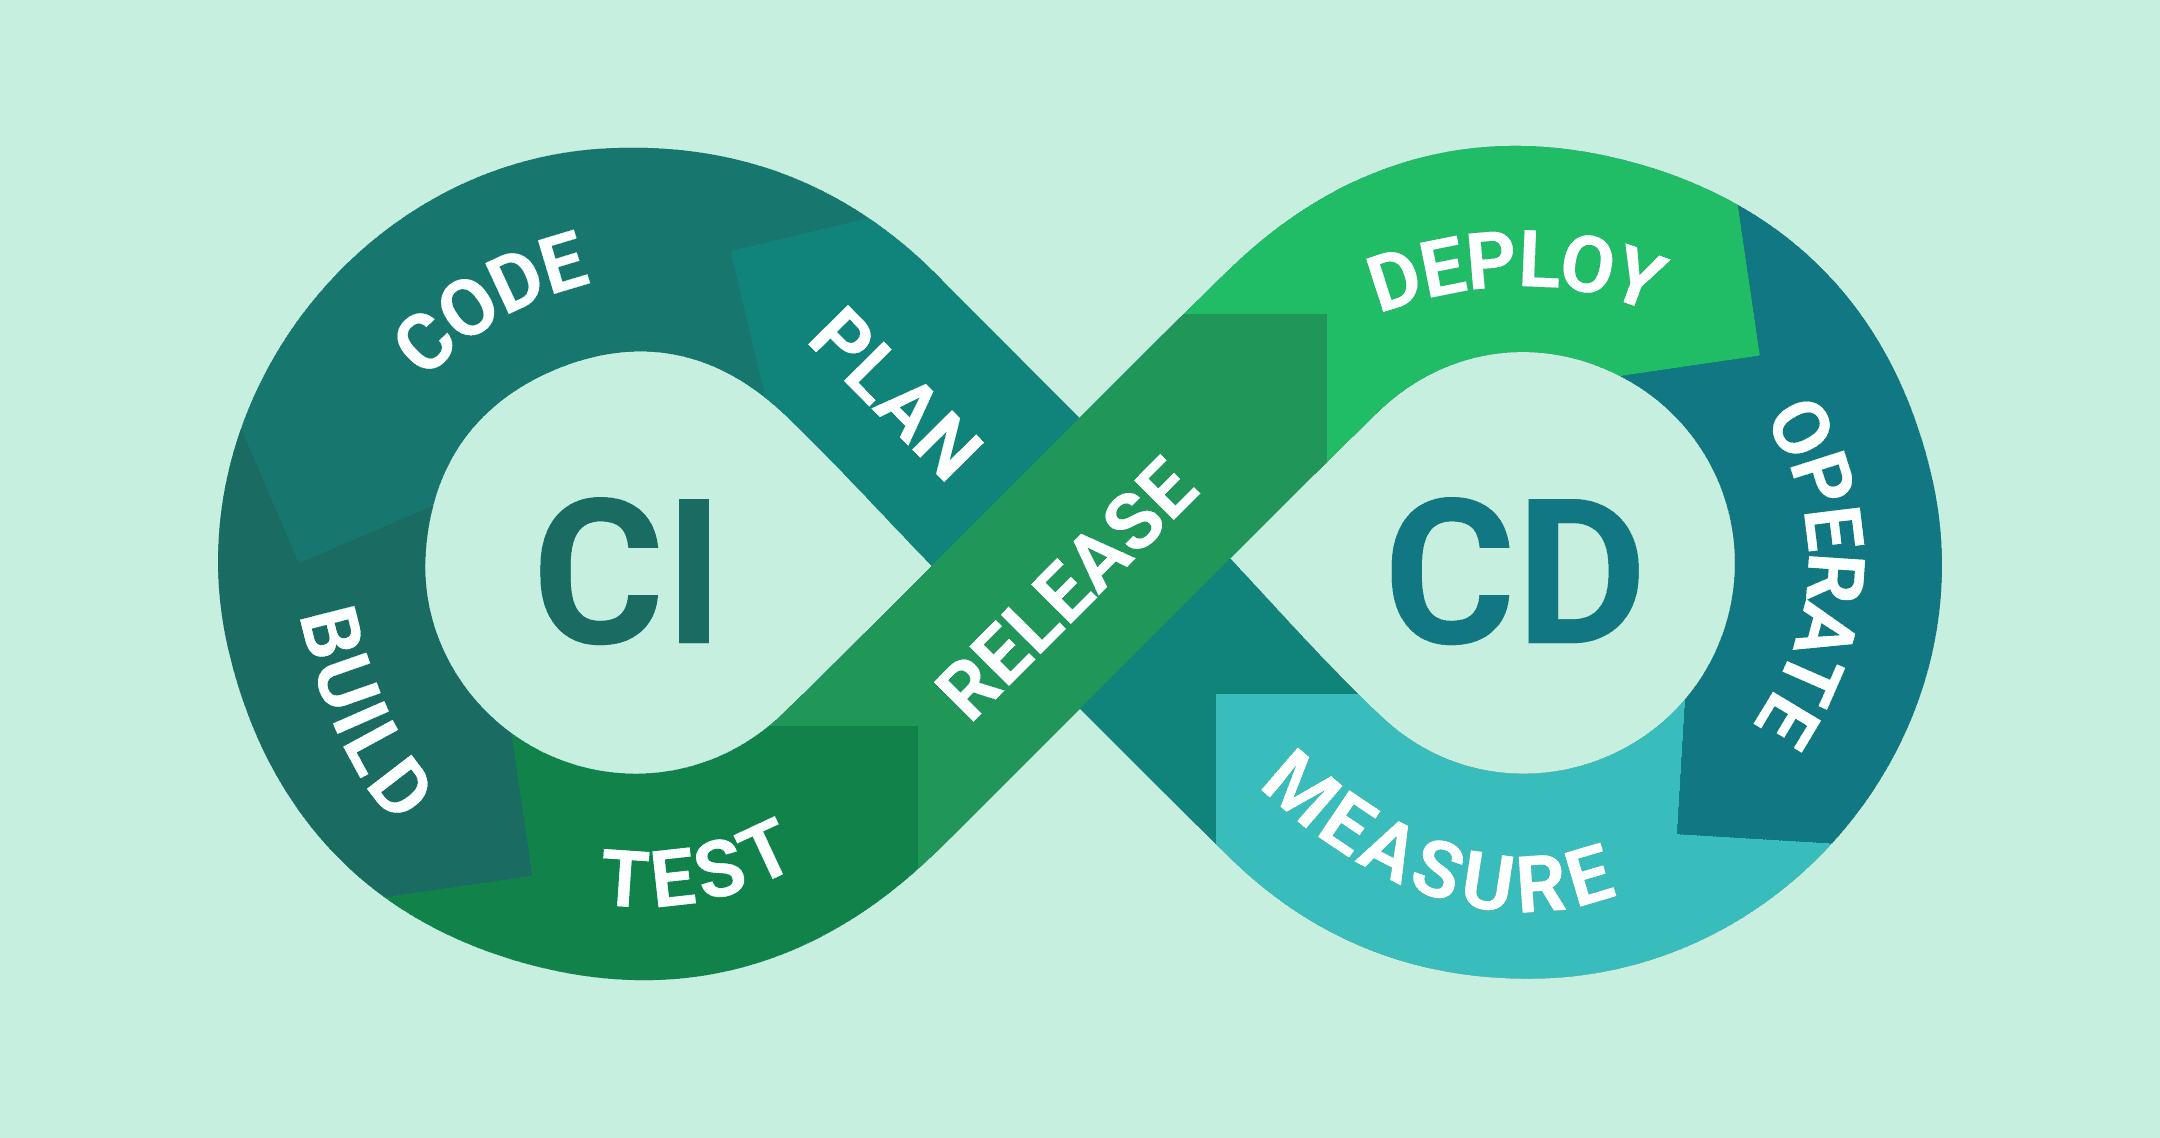
- Plan: Decide what to build and why. Break down work into manageable pieces and prioritize what delivers value.
- Code: Write the software. Implement features in feature branches and open pull requests when ready.
- Build: Compile the code, package the application, and create a Docker image with all dependencies.
- Test: Run automated unit tests, integration tests, and static code analysis. Faulty code stops the pipeline.
- Release: Tag the Docker image with a version number and push it to a container registry like Docker Hub, Google Artifact Registry, or AWS ECR.
- Deploy: Use strategies like Blue-Green or Canary deployments to minimize risk. Deploy alongside the current version, shift traffic gradually, and roll back immediately if issues arise.
- Operate: Keep the application running, healthy, and responsive. Scale based on demand and handle incidents.
- Measure: Gather production data through logs, metrics, and traces. Feed insights back into planning. The loop continues.
This automated approach offers clear, measurable benefits: consistency across every deployment, reliability through automated testing, speed with push-button releases, complete auditability of who deployed what and when, and automated rollbacks when things go wrong.